
Cable management behind a mounted screen

Effective cable management is essential for a clean and organized workspace, especially when using mounted screens. Properly routing cables not only enhances aesthetics but also ensures ease of movement for your monitor. This article explores how to achieve optimal cable management behind a mounted screen, focusing on slack for full movement, routing through the arm, and the order of connections.
Managing cables can reduce clutter and improve safety by minimizing tripping hazards. By following a few straightforward guidelines, you can create a more efficient and visually appealing workspace that allows for the full range of motion of your monitor arm.
Understanding Cable Lengths
Before you start managing your cables, it’s important to consider their lengths. Cables that are too short can restrict movement, while excessively long cables can lead to tangles and clutter. Measure the distance from your monitor to the power outlets and any other connected devices to ensure you select the right cable lengths.
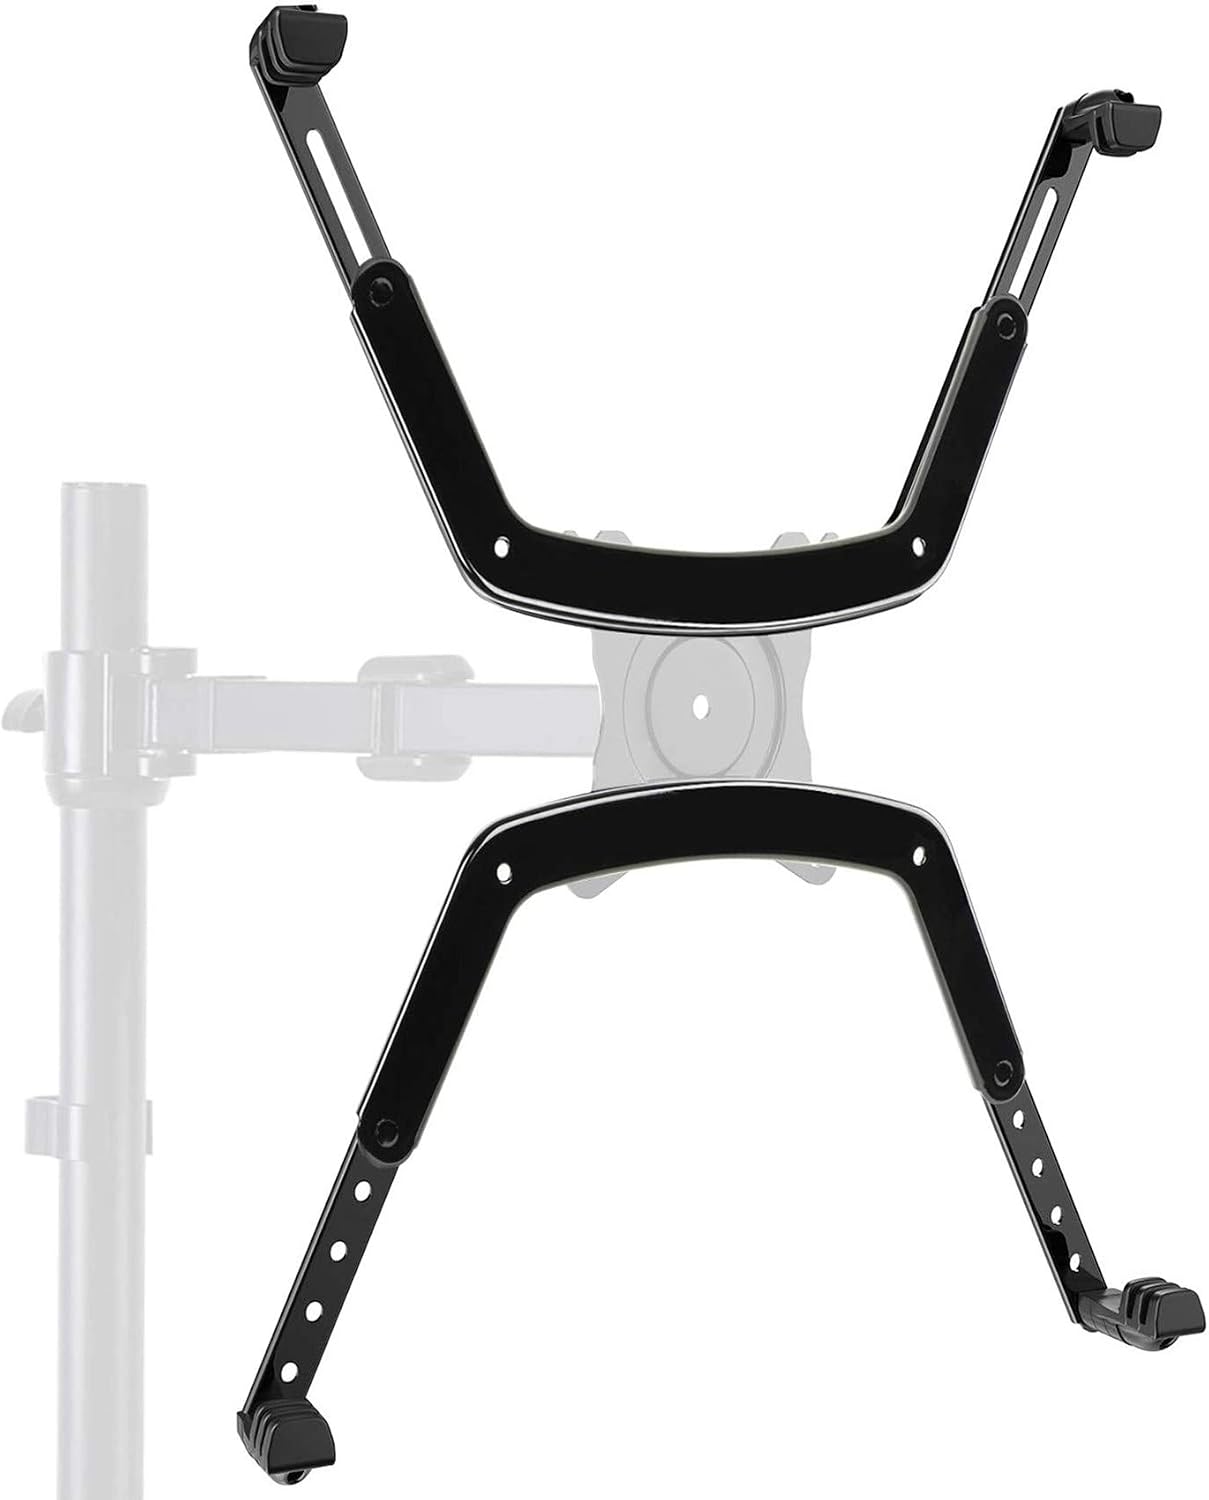
If you’re using VESA adapters, ensure they are compatible with your monitor’s mounting points. This compatibility can influence cable arrangement and the overall workspace setup. Proper length and compatibility help maintain a clean appearance while allowing for full monitor movement.
Choosing the Right Monitor Arm
The type of monitor arm you select plays a crucial role in cable management. Choose an arm with integrated cable management features, such as clips or channels that guide cables along the arm. This keeps cables organized and out of sight while allowing for flexibility in movement.
Some monitor arms also offer adjustable height and tilt, which can further influence cable routing. Ensure your chosen arm meets your ergonomic needs while facilitating an efficient cable management system. This will help maintain a streamlined setup that is both functional and visually appealing.
Routing Cables Through the Arm
One effective way to manage cables is to route them through the monitor arm itself. Many modern monitor arms feature built-in pathways specifically designed for this purpose. This not only hides the cables but also prevents them from snagging or tangling during adjustments.
To route cables through the arm, start by disconnecting any cables currently attached to the monitor. Then, feed the cables through the designated channels in the arm. Ensure the connections at the monitor end are secure before mounting the arm to avoid any strain on the cables.
Maintaining Slack for Full Movement
When mounting your monitor, it is vital to maintain some slack in the cables. This will allow for the full range of motion without putting unnecessary stress on the cables. If the cables are too tight, they may pull on the connectors, leading to potential damage.
To maintain slack, consider using cable ties or Velcro straps to bundle excess cable length neatly. Position the ties along the monitor arm or desk to keep cables organized while ensuring there is enough slack for movement. This approach provides both functionality and aesthetics.
Organizing Cables at the Desk
A tidy desk contributes to a professional appearance and can enhance productivity. Use cable management solutions like cable trays, clips, or sleeves to organize cables where they exit the monitor arm and reach the desk. This keeps them off the floor and reduces the risk of tripping.
Positioning your power strips or outlets strategically can also help streamline the cable management process. By having your connections close to the monitor, you can further minimize visible cables. This makes the workspace look cleaner and more organized.
Labeling Cables for Easy Identification
Labeling cables can be incredibly beneficial for future adjustments or troubleshooting. Use color-coded labels or simple tags to identify each cable’s purpose, such as power, HDMI, or USB. This practice makes it easier to connect and disconnect devices without confusion.
Implementing a labeling system also helps when multiple monitors or devices are involved. You can quickly identify which cable corresponds to each device, saving time and reducing frustration during maintenance. A well-labeled setup can greatly enhance your workflow.
Regular Maintenance Checks
Periodic maintenance checks are crucial for ensuring that your cable management system remains effective. Inspect cables for any signs of wear or damage and replace them as necessary. This routine can prevent potential issues from escalating and ensure a safe workspace.
During these checks, ensure that the routing remains intact and that no cables have become loose or tangled. Keeping an eye on your setup allows you to address problems before they impact your productivity or create safety hazards.
Utilizing Desk Accessories
Incorporating desk accessories can enhance your cable management efforts. Consider using cable management boxes, which can hide excess cables and power strips. These boxes can be placed on or under the desk, maintaining a clean look while keeping everything organized.
Additionally, desktop organizers can help keep your workspace tidy by providing dedicated spaces for essential items. This not only frees up desk space but also minimizes the number of visible cables, contributing to a more professional appearance.
The short version
Effective cable management behind a mounted screen involves selecting the right monitor arm, maintaining slack in cables, and organizing connections neatly. Use routing features, labels, and desk accessories to enhance both functionality and aesthetics. Regular maintenance checks ensure your setup remains safe and efficient.
Where to go next
Everything discussed here lives in VESA Adapters. If you are weighing two options and cannot decide, the answers page covers the questions we get asked most, and a message reaches the people who pack the orders.
From that section
- HUANUO Universal VESA Mount Adapter Kit for 17 to 27 Inch Monitors
- VESA Mount Adapter Bracket for HP Pavilion 22M 24M 27M Monitors
- MOUNT PRO VESA Mount Adapter, Universal Non-VESA Monitor Adapter