
Aligning a dual-monitor setup so the bezels line up

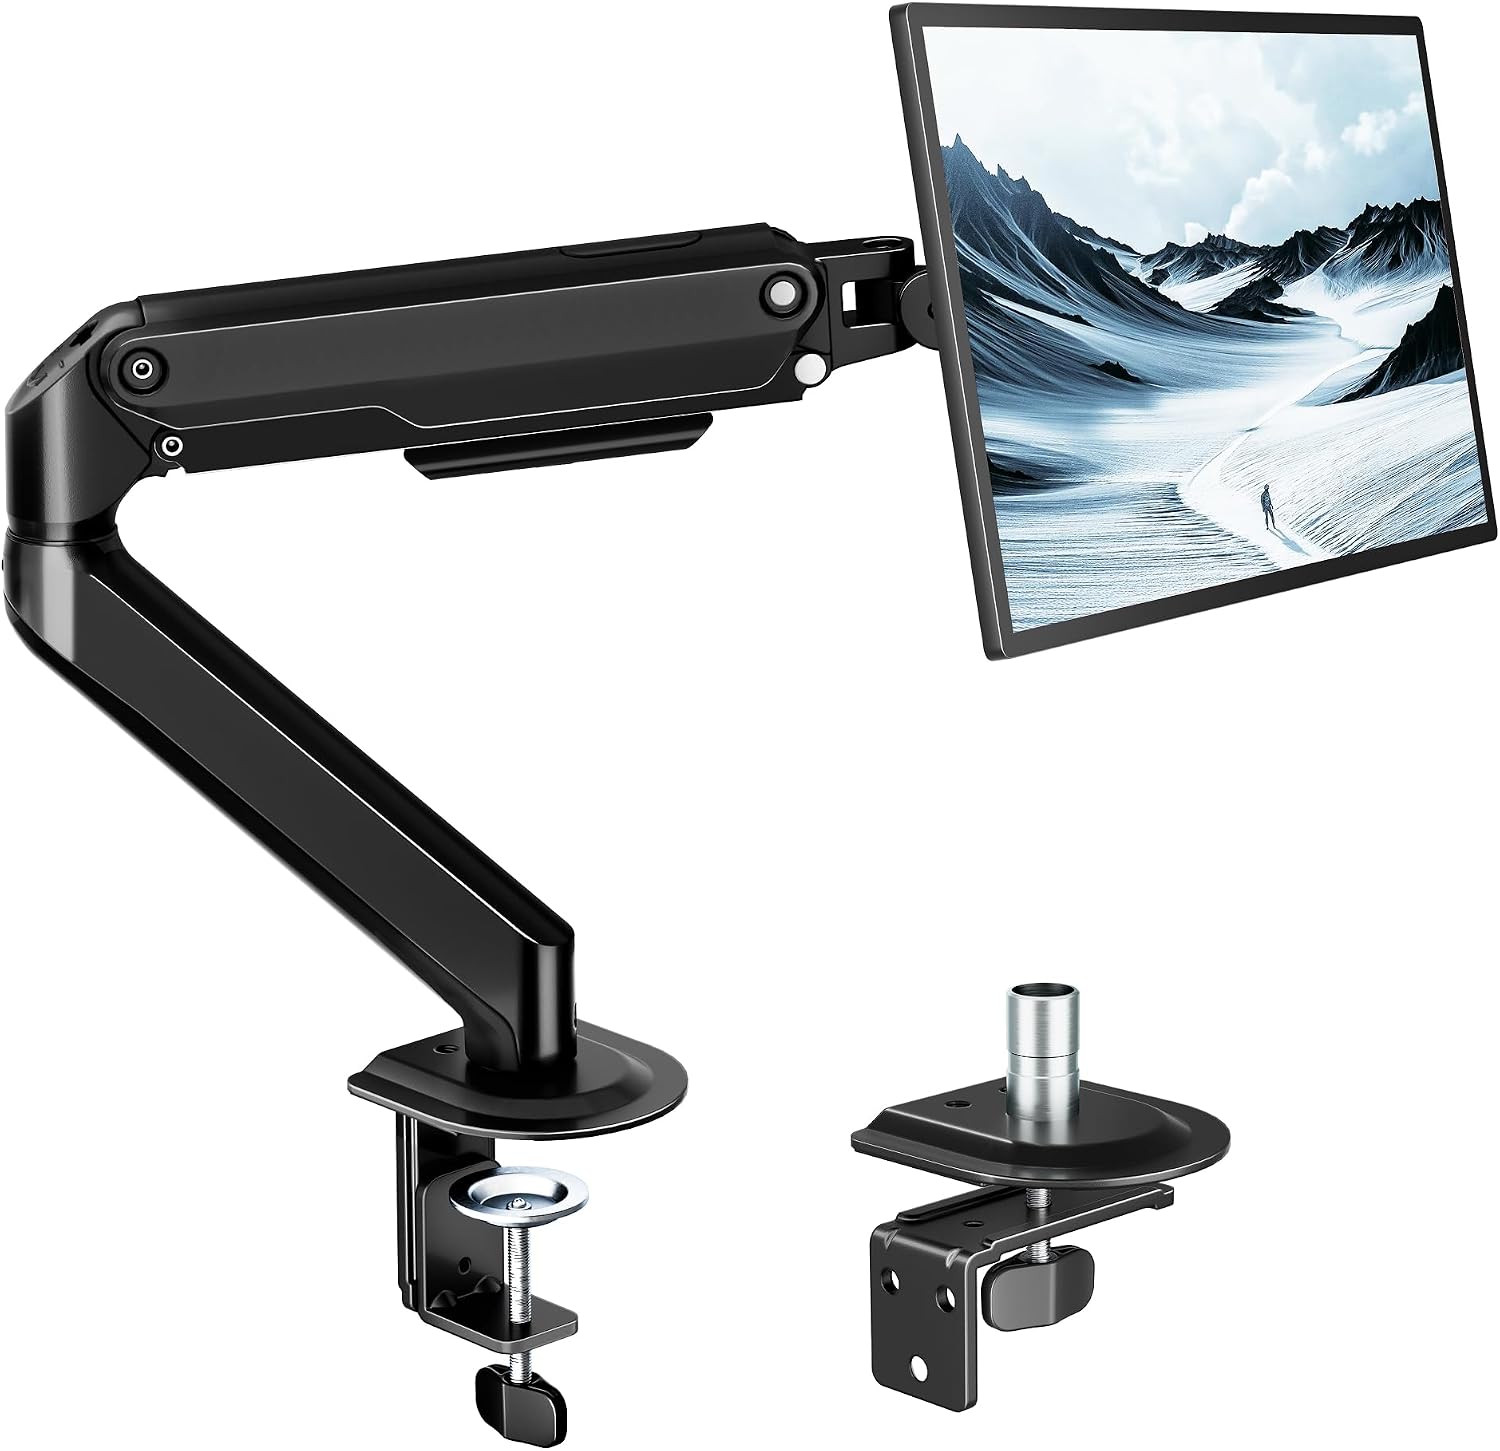
Setting up a dual-monitor configuration can significantly enhance productivity, but proper alignment of the monitors is crucial for a seamless experience. Misaligned screens can cause visual strain and disrupt workflow. Ensuring that both monitors are perfectly aligned will provide a more comfortable working environment.
This guide will walk you through the key aspects of aligning your dual-monitor setup, focusing on height, tilt, gaps, and the use of alignment clips. With the right adjustments, your monitors can work together harmoniously.
Understanding Monitor Heights
The first step in aligning your monitors is ensuring they are at the same height. The top of each monitor should be at or slightly below eye level when you are seated. This helps to reduce neck strain and improves overall comfort during long working hours.
To achieve this, adjust the height of each monitor using a monitor arm or height-adjustable stand. If one monitor is taller, consider using a VESA adapter to modify its position. This adjustment is essential for a visually pleasing setup.
Adjusting the Tilt
Once the monitors are at the correct height, it’s important to check their tilt. Monitors should be angled slightly back, typically between 10 to 20 degrees. This angle allows for better visibility and reduces glare from overhead lights.
Use the tilt adjustment features available on your monitor stand or arm to achieve this angle. Keep in mind that both monitors should be tilted at the same angle to maintain a consistent viewing experience.
Minimizing the Gap
The gap between the monitors can disrupt the continuity of your workspace. Aim to minimize this gap as much as possible by adjusting the horizontal positioning of each monitor. Ideally, the edges of the monitors should touch or be very close together.
If there’s a noticeable gap, consider using alignment clips. These clips can securely attach the monitors together and create a seamless transition from one screen to the next. This also helps to avoid any distractions caused by the gap.
Using Alignment Clips
Alignment clips are a simple yet effective solution for ensuring your monitors are positioned correctly. These clips can be attached to the edges of the monitors, helping to hold them in place. They are especially useful if your monitors are different sizes.
To use alignment clips, first, align the monitors to the desired position. Then, attach the clips to each monitor’s side, ensuring they are secure. This will help maintain the correct alignment even if the monitors are moved or adjusted.
Setting It Once Properly
After making all necessary adjustments, take a moment to test your setup. Open applications or documents that span both screens to see if the alignment holds up during use. Pay attention to any visual disruptions, which may indicate further adjustments are needed.
It’s essential to set the alignment once and verify that it remains consistent. This will prevent the need for frequent adjustments and help keep your workspace organized and efficient.
Testing for Comfort
After setting your monitors in place, assess your comfort level. Sit back in your chair and ensure that you can view both screens without straining your neck or eyes. Make adjustments if necessary, focusing on both the height and angle of the monitors.
Comfort is key for productivity, so take the time to make fine adjustments until you find the perfect position. A small change in height or tilt can make a significant difference in your daily comfort levels.
Maintaining Your Setup
Once your dual-monitor setup is aligned, it’s important to maintain it. Regularly check the positioning to ensure that nothing has shifted over time. Adjustments may be necessary, especially if you frequently move your workspace or if the monitors are inadvertently bumped.
Additionally, dust and clutter can accumulate around your monitors, affecting their stability and appearance. Keep the area clean and free from obstructions to maintain a professional and organized workspace.
Additional Accessories
Consider incorporating additional desk accessories to enhance your dual-monitor setup. Items such as cable management solutions can help keep cords organized and out of sight, while privacy filters can protect sensitive information from prying eyes.
Desk organizers can also contribute to a more efficient workspace. By keeping essential items within reach, you can maintain focus and ensure that your dual-monitor setup remains a productive environment.
The short version
Aligning a dual-monitor setup requires careful attention to height, tilt, gap, and the use of alignment clips. Ensure both monitors are at the same height and tilted slightly back for optimal visibility. Minimize the gap and secure the monitors with alignment clips. Test for comfort and make adjustments as necessary to maintain an efficient workspace.
Ensuring Optimal Height and Tilt for Perfect Alignment
Achieving a seamless dual-monitor setup involves meticulous attention to height and tilt adjustments. Utilizing monitor arms allows for precise elevation, ensuring that both screens are at eye level, which is crucial for comfort and productivity. Proper tilt settings further enhance visual alignment, reducing glare and ensuring consistent viewing angles across both displays.
Alignment clips can significantly aid in maintaining the gap between monitors, preventing any visual distraction. Once you’ve set your monitors to the desired height and tilt, it’s essential to secure these adjustments to avoid any misalignment over time. A well-set-up dual-monitor system enhances your workspace, promoting an efficient and enjoyable user experience.
Where to go next
Everything discussed here lives in Desk Accessories. If you are weighing two options and cannot decide, the answers page covers the questions we get asked most, and a message reaches the people who pack the orders.
From that section
- monTEK Single Monitor Arm, 17-32" Screen, Full Motion Adjustment
- Acrylic Monitor Memo Board Holder, 15"x7.9" Sticky Note Holder
- 3-Pack Monitor Connector Alignment Clips with Adhesive